
Materials Needed
In order to create squishy circuits, you will need the following:
(1) Battery holder – 4XAA Batteries w/ Switch
(4) AA Batteries
LED – 5mm or 10mm Jumbo
Conductive Dough ( Play-Doh which has similar conductive properties)
Insulating Dough (modeling clay)
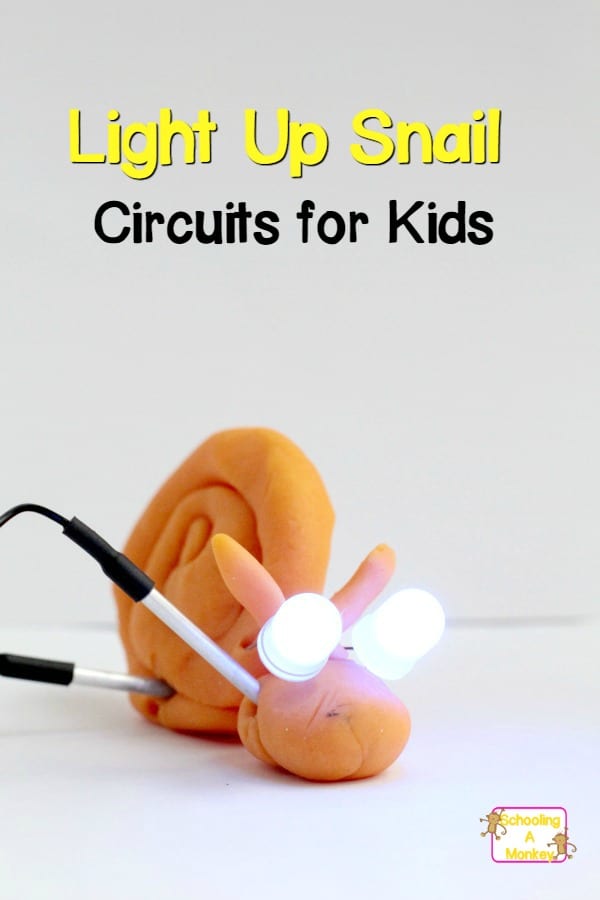
Make a Squishy Circuit
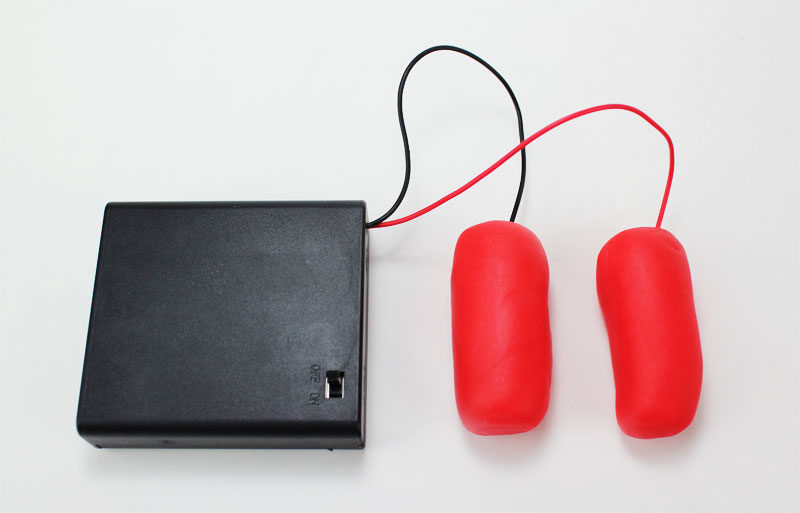
Step 1:
Take some conductive dough and form it into 2 separate rolls. Connect the red (+) wire from the battery to one roll and the black (-) wire to the other.
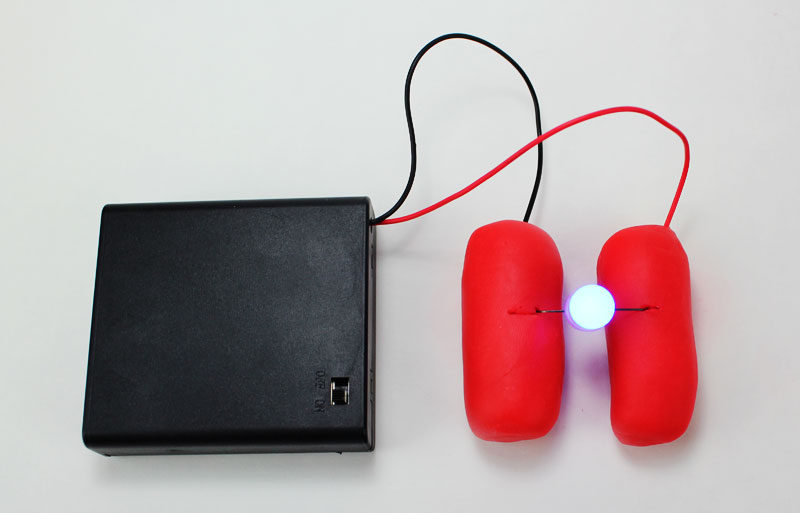
Step 2:
Take (1) LED and insert the long leg (+) into the roll that is connected to the red wire. Insert the other LED leg into the opposite roll and then turn on your battery pack. At this point, you have created a circuit and the LED should light.
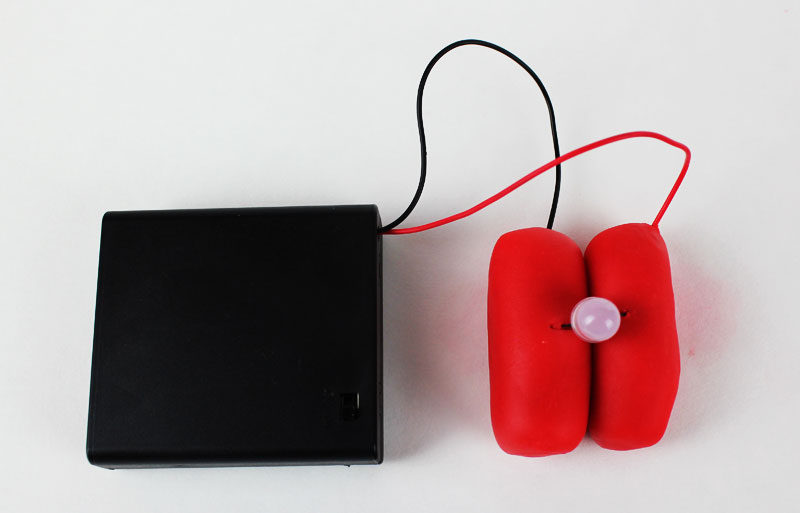
Step 3:
Now we’re going to create a short circuit by pushing the dough together. Electrical current flows in a circle and takes the path of least resistance. It’s easier for the electricity to flow through the dough versus the LED. When the two rolls are pushed together, the current bypasses the LED creating a short circuit.
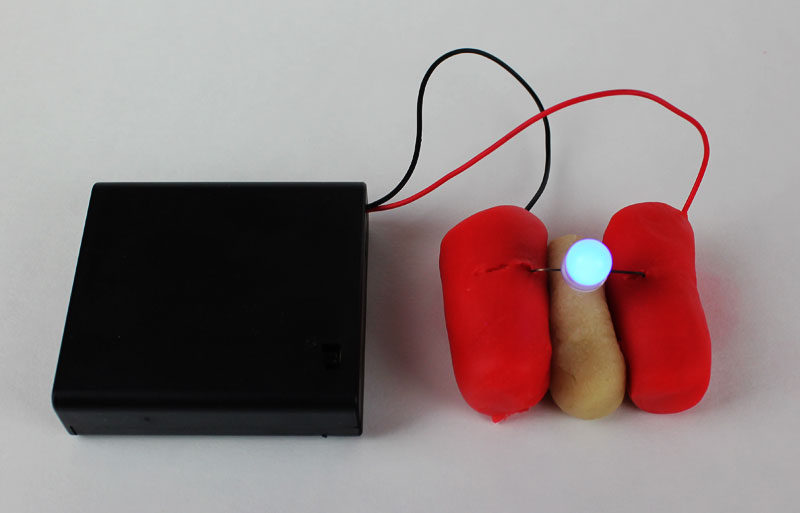
Step 4:
In order to prevent short circuits as outlined above, we need an insulator between the conductive dough. Take some of your insulating dough and place it between the two pieces of conductive dough.
Add Motors, Buzzers and More
In addition to lighting an LED, you could power a DC motor or a buzzer in the same way. The below projects are from squishycircuits.com and they show what can be created with conductive and insulating dough.
Source: https://www.makerspaces.com/
Email Doctor Study Buddy at www.doctorstudybuddy@gmail.com for help.
![]()